Posted on — Leave a comment

Composting in a small garden

Composting in a small garden

Compost is the best food there is for a garden, and you can make it yourself from waste you already throw away. You don’t need a big garden or a lot of time. One bin in a corner is enough.

Choose a spot

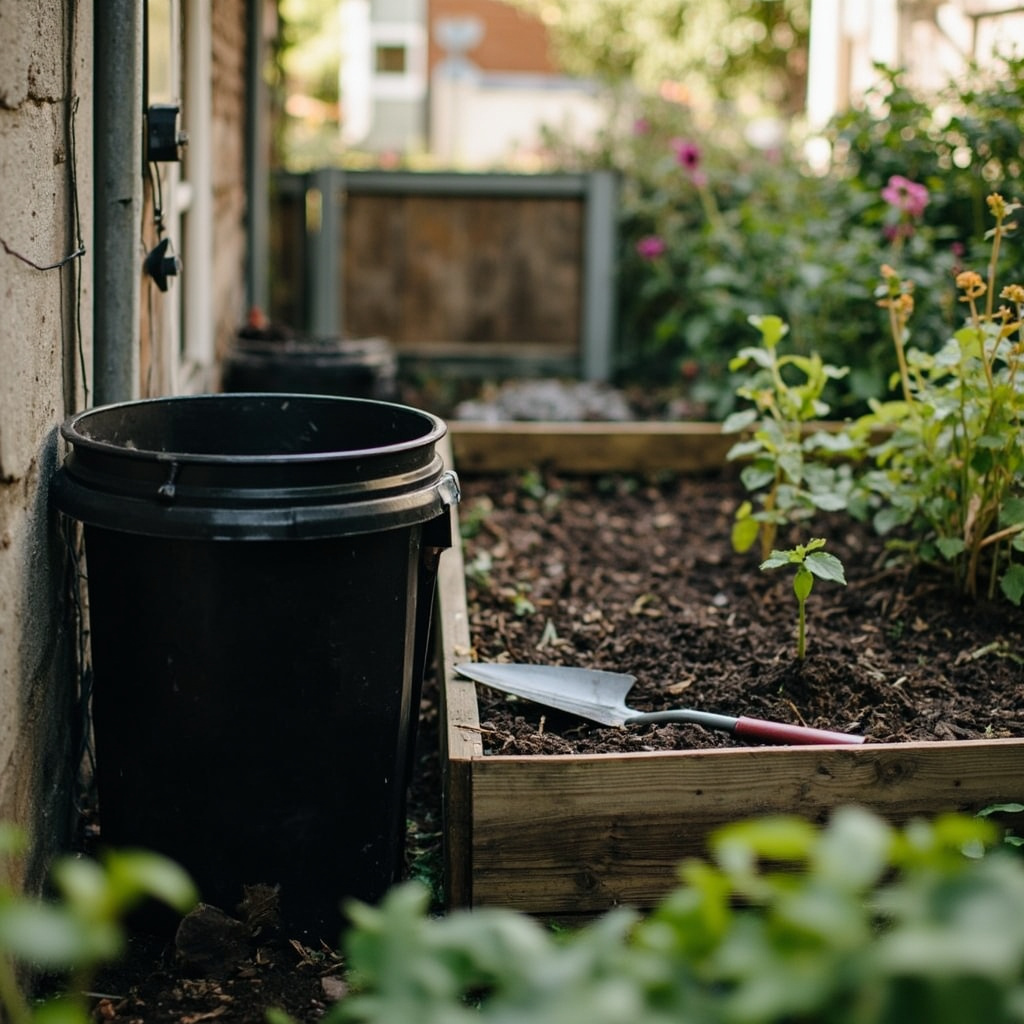
Place the bin directly on soil, not on tiles or concrete. Worms, beetles and other small helpers come in from below and do much of the work. A spot in half shade is best. In full sun, the compost dries out. In deep shade, it stays cold and slow.

The compost bin 300 liters takes about fifteen minutes to set up. The panels click together without screws, and the lid locks so wind and animals stay out.

Green and brown

Good compost needs two kinds of material, in roughly equal amounts.

  • Green: vegetable and fruit peels, coffee grounds, tea leaves, fresh grass clippings and soft plant material. Green brings nitrogen and moisture.
  • Brown: dry leaves, small twigs, straw, torn cardboard and egg boxes. Brown brings carbon and air.

Too much green, and the bin turns wet and smelly. Too much brown, and nothing happens. Add them in thin layers, and the balance takes care of itself. A bag of dry leaves next to the bin, collected in autumn, is handy for all year.

What stays out

Leave out meat, fish, dairy, cooked food with oil, and pet waste. They smell and attract rats. Also leave out weeds with seeds and diseased plants.

Air and water

Compost needs air. The openings in the sides of the bin let it in. Once a month, stir the top layer with a garden fork. The compost should feel like a wrung-out sponge: damp, not wet. In a dry summer, pour a watering can of water over it. Rainwater from the rain barrel works well.

Harvest

After six to twelve months, the bottom of the bin turns into dark, crumbly soil that smells like a forest floor. Open the hatch at the bottom and scoop it out with the garden trowel with ash handle. The new waste keeps going in at the top.

Mix the compost into your borders, or fill the raised garden bed, cedar wood, with a mix of compost and garden soil. Your vegetables will notice the difference.

Small garden, small waste

A family produces a surprising amount of kitchen waste. With a compost bin, much of it goes back into your own garden instead of into a container. Less waste, better soil and free plant food. That is a good deal for one corner of the garden.
Posted on — Leave a comment

Get your garden through winter without work in spring

Get your garden through winter without work in spring

When the first frost comes, it is tempting to close the back door and forget the garden until spring. But a few hours of work in late autumn save you broken pipes, cracked pots and a lot of tidying in March.

Empty everything that holds water

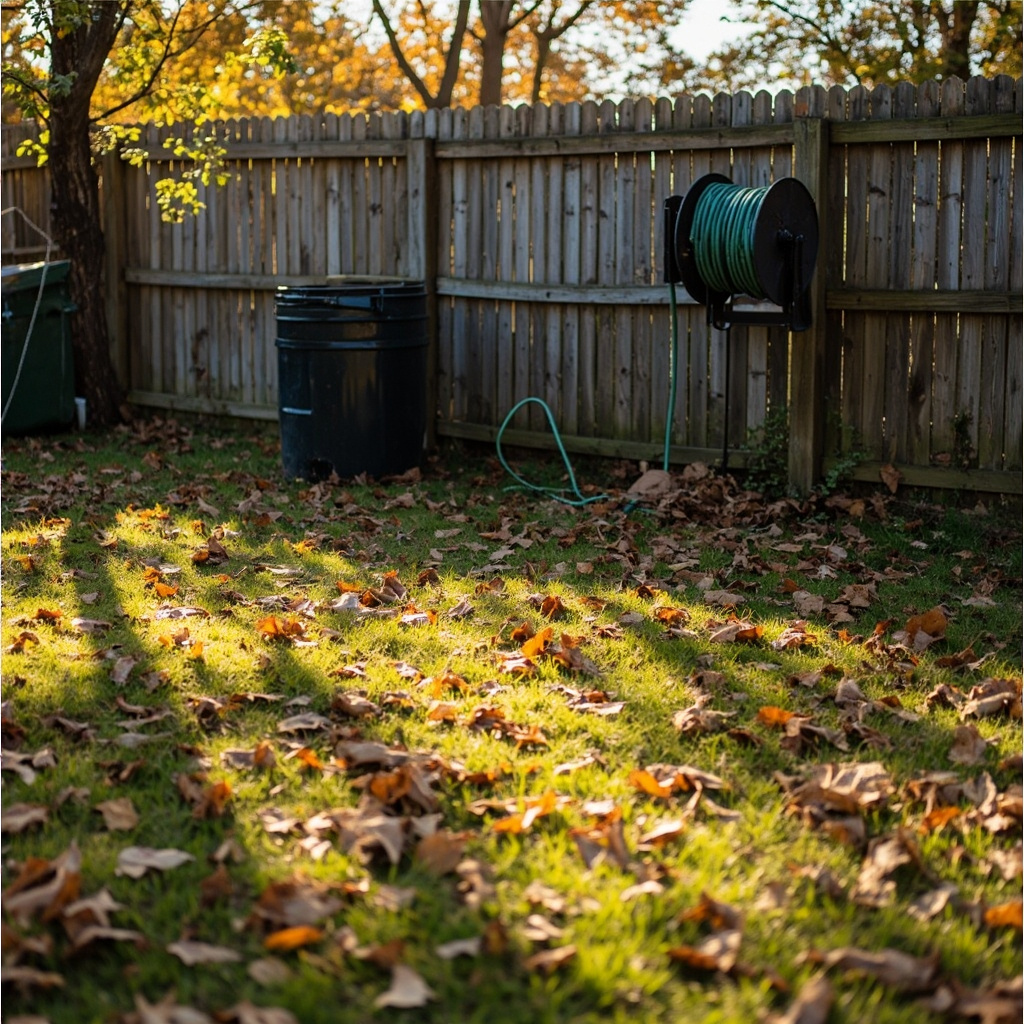
Water expands when it freezes. Anything that holds water can crack or burst. Empty the rain barrel and open its tap, so ice can’t damage it. Drain the garden hose, roll it up and bring it inside. The wall-mounted hose reel lifts off its bracket with one hand, so the whole thing can go into the shed. Take the spray nozzle off and store it inside too.

Turn the outside tap off from inside the house, if you can, and open it outside to let the last water out.

Protect the pond pump

Take the pond pump out of the water before the first hard frost. Rinse the pre-filter and store the pump in a bucket of water in a frost-free place. That keeps the seals from drying out.

Pots and planters

Our terracotta plant pots are fired to be frost resistant, but only if they don’t stand in water. Lift them onto pot feet or bricks, and empty the saucers. The same goes for the glazed plant pots. Move tender plants, like rosemary in a small pot, against a sheltered wall.

Leave the leaves, but not everywhere

Fallen leaves on a lawn block light and cause bare patches. Rake them off the grass. But in the borders, leaves are welcome. They protect the soil, feed worms and give insects a place to spend the winter. Put the rest in the compost bin 300 liters. Mixed with kitchen waste, they make rich compost by next autumn.

Clean and oil your tools

Sap and soil on tools cause rust. Before you hang them up for winter, clean the bypass pruning shears, the hand hedge shears, the hand hoe and the garden trowel. Dry them, and put a drop of oil on the blades and the hinges. Hang them on the garage wall rack for garden tools, so nothing lies on a damp floor.

Feed the birds

Winter is hard for birds. A hanging bird feeder near a window brings them close, and it is a pleasure to watch on a gray morning. Keep it clean and full from November to March.

Plan for spring

Finally, plant spring bulbs before the ground freezes. With the bulb planter with foot rest, a hundred tulips go in without bending. In March, they will be the first color in the garden, and you will be glad you did the work now.

Posted on — Leave a comment

Choosing a cordless drill: volts, torque and what you really need

Choosing a cordless drill: volts, torque and what you really need

A cordless drill is the power tool most people buy first. The shelves are full of numbers: volts, amp hours, newton meters. Here is what they mean and what you really need for jobs at home.

Volts: how strong the drill is

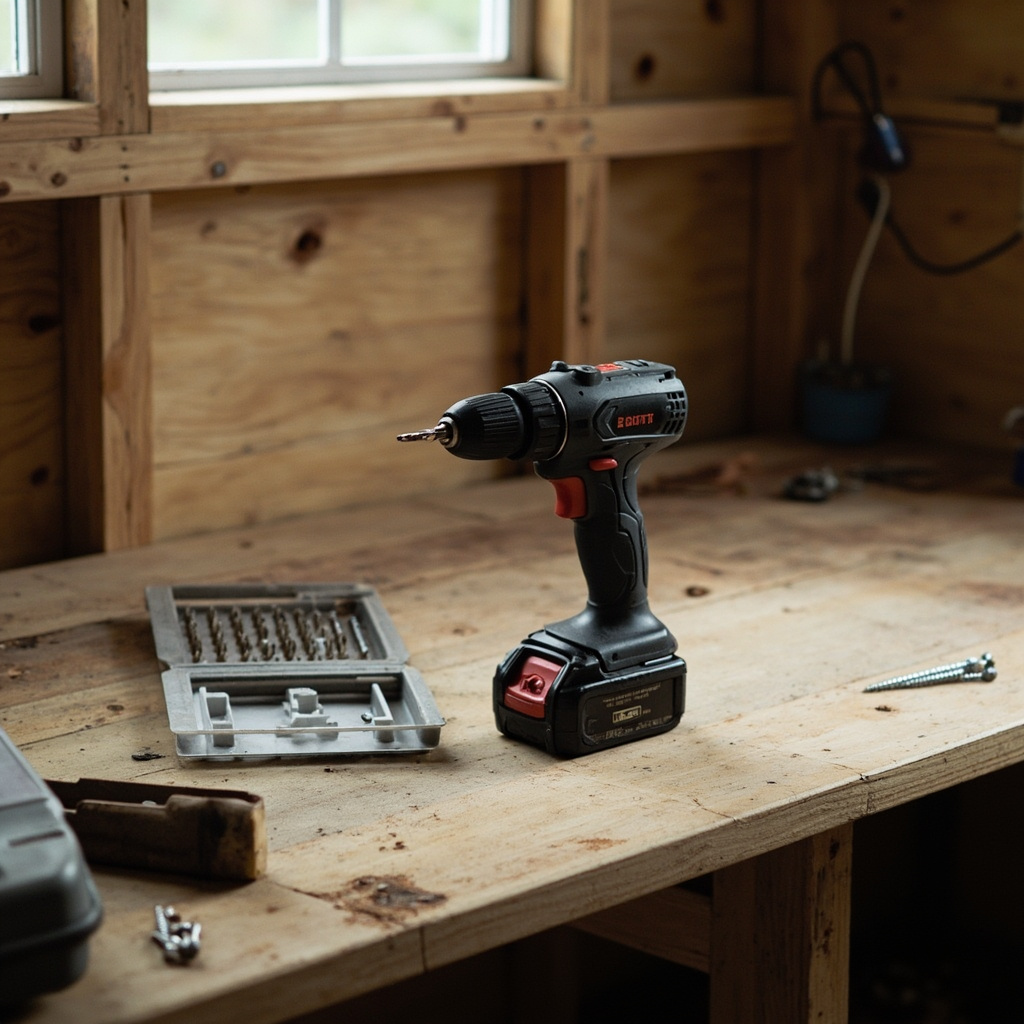
The voltage of the battery says how much power the drill has. Small drills of 10.8 or 12 volt are light and handy for flat-pack furniture. For drilling into stone, driving long screws or building a shed, 18 volt is the common choice. The Hoogmaat cordless drill 18 volt has enough power for nearly every job in and around the house.

Amp hours: how long the battery lasts

Amp hours, or Ah, tell you how much energy the battery holds. A 2.0 Ah battery is light and fine for a few hours of normal work. A 4.0 Ah battery lasts twice as long, but is a little heavier. The Hoogmaat drill comes with two 2.0 Ah batteries, so one is always charging. For a big job, like a deck, add the Hoogmaat battery 18 volt 4.0 Ah. It fits every Hoogmaat 18 volt tool.

Torque settings: the ring behind the chuck

The numbered ring behind the chuck sets the torque, the turning force. At a low setting, the drill stops as soon as the screw meets resistance. That stops you from driving a screw too deep into soft drywall. At a high setting, it keeps turning into hard wood. The drill symbol means no limit, for drilling holes. Start low and turn it up until the screw sits flush.

Drill or impact driver?

A drill drills holes and drives screws. An impact driver only drives screws, but it does that much better. When a long screw gets tight, it gives short, strong blows that push it in without twisting your wrist. If you build decks, fences or sheds, the Hoogmaat cordless impact driver 18 volt is a great second tool. It is sold without a battery, because it uses the same batteries as the drill.

Bits matter as much as the drill

A strong drill with a blunt bit is slow and frustrating. Use the right bit for the material: wood bits with a center point, masonry bits with a hard tip, and metal bits of high-speed steel. The drill and bit set, 100 pieces, has all three in the sizes you use most.

Our advice

  • For flat-pack furniture and the odd picture: a ratcheting screwdriver may be all you need.
  • For general jobs at home: an 18 volt drill with two batteries.
  • For decks, fences and sheds: add an impact driver and a 4.0 Ah battery.

And whatever you choose, wear safety glasses when you drill. A chip of stone in your eye ends the job early.

Posted on — Leave a comment

Water column explained: when is rain gear really waterproof?

Water column explained: when is rain gear really waterproof?

On the label of a rain jacket or a tent, you often see a number like 3000 mm or 8000 mm. That number is the water column. It tells you how waterproof the fabric is. Here is what it means and how much you need.

What the number measures

Imagine a tall tube placed on top of the fabric, filled with water. The water presses down on the fabric. The higher the column of water, the more pressure. The water column is the height at which water starts to come through. A fabric with 8000 mm can carry a column of water eight meters high before it leaks.

Real rain doesn’t stand eight meters high on your jacket, of course. But pressure comes from other places. When you sit on a wet bike saddle, your weight pushes water into the fabric. A backpack strap presses on your shoulders. Wind drives rain against you. That is why a higher number matters.

How much do you need?

  • Up to 1500 mm: water-repellent. Fine for a short shower, not for a long day.
  • 3000 mm: good for a tent flysheet, like our tent for 2 persons, and for a walk in steady rain.
  • 5000 mm and more: waterproof for most daily use.
  • 8000 mm and more: made for long bike rides and heavy rain. The Wolkendek women’s rain jackets and the men’s rain jacket, green, have 8000 mm.

The seams matter as much as the fabric

A jacket is made of pieces of fabric sewn together. Every stitch is a tiny hole. In heavy rain, water finds those holes. That is why good rain gear has taped seams: a thin strip of waterproof tape on the inside covers every line of stitching. A fabric of 8000 mm with open seams leaks at the shoulders within an hour.

Dry from the inside too

A fully closed jacket keeps rain out, but it also keeps the warmth and moisture of your body in. On a bike, you can end up wet from sweat. Look for zips under the arms. Open them when you get warm, and damp air escapes.

Keep it waterproof

The outside of good rain gear has a water-repellent layer that makes rain bead up and roll off. Dirt and fabric softener damage that layer. Wash your rain jacket at thirty degrees, without softener, and hang it to dry. When rain stops beading, a new spray-on treatment brings it back.

For the unexpected shower, keep a rain poncho in your bag. For dry legs on the bike, add the Wolkendek men’s rain pants, black. And for dry feet, see the women’s rain boots of natural rubber.

Posted on — Leave a comment

Which pan for which job?

Which pan for which job?

Most kitchens have a cupboard full of pans, and most cooks use the same two every day. That is a pity, because each shape does one job better than the others. Here is a short guide to four pans and what they are good at.

The small saucepan: sauces, eggs and one serving of soup

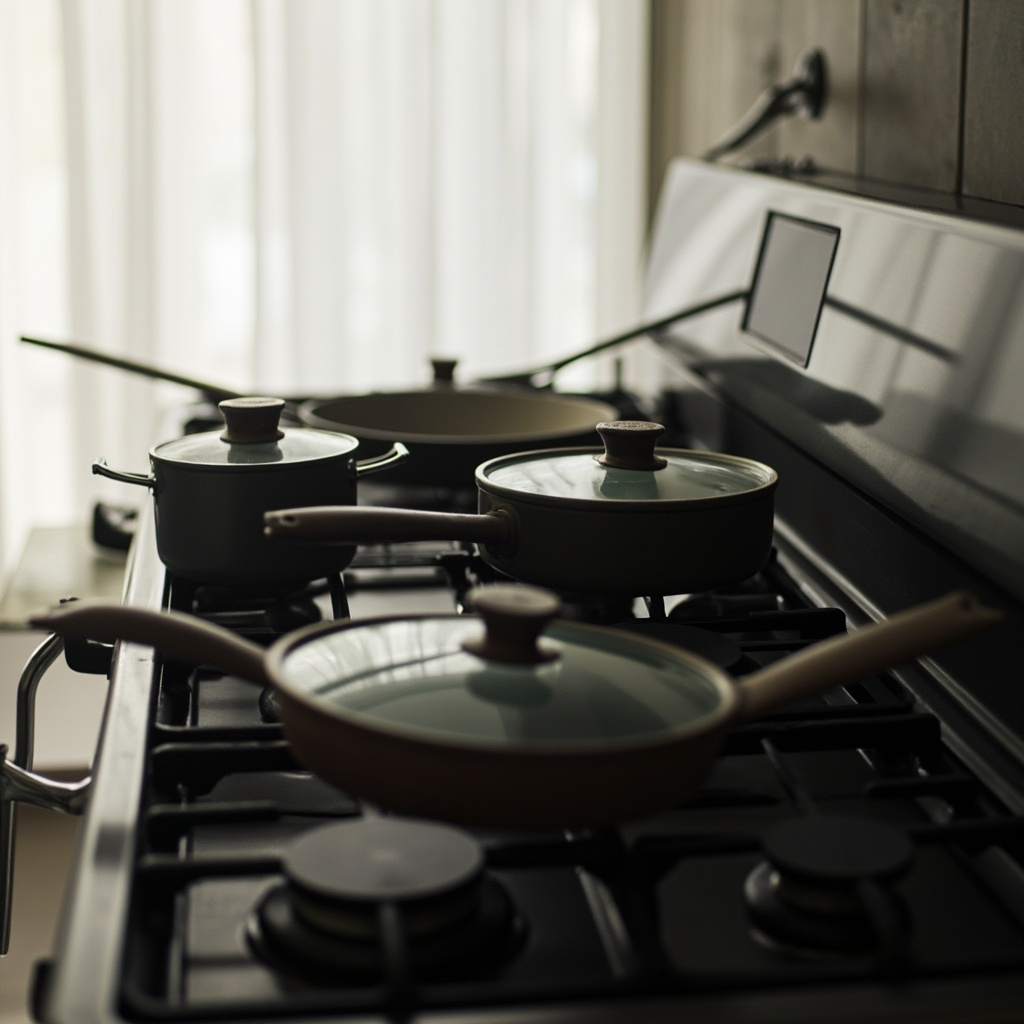
A pan of about 16 centimeters is the one you reach for most. It heats a cup of milk, cooks two eggs or makes a white sauce. What matters is the base. The Steenwijck saucepan 16 cm with lid has a base of three layers, with aluminum in the middle. Aluminum spreads the heat to the edge, so milk doesn’t burn along the side. The hollow handle stays cool.

Prefer a warmer look? The Steenwijck enamel saucepan 16 cm does the same job. Enamel doesn’t react with acid food, so a tomato sauce tastes the way it should.

The frying pan: quick, hot and flat

A frying pan has low sides, so steam escapes and food browns instead of steaming. The Steenwijck frying pan 28 cm, nonstick, fits four eggs side by side, two steaks or a large pancake. Its thick base doesn’t warp on a hot burner, so the oil stays spread out. Use a wooden or silicone spatula to keep the coating smooth for years.

The saute pan: the pan that does almost everything

A saute pan has the wide base of a frying pan and the high side of a pot. Brown onions and meat, add tomatoes and stock, put on the lid, and let it simmer. The Steenwijck saute pan 28 cm with glass lid has a side of seven centimeters and holds 3.5 liters. It goes into the oven up to 180 degrees, lid and all. If you buy one extra pan this year, make it this one. Risotto, curry, a stew for four or a large pan of vegetables: it handles them all.

The casserole: slow cooking for a crowd

For a stew that simmers for two hours, a big pot of soup or rice for six, you need a casserole. The Steenwijck enamel casserole 24 cm holds 4.5 liters and goes into the oven up to 220 degrees. Two short handles make it easy to lift with oven gloves. Start on the stove, finish in the oven, and serve it at the table.

A few rules for every pan

  • Match the burner to the base. A small pan on a big flame burns the handle and wastes heat.
  • Let a hot pan cool before you wash it. Cold water on a hot pan can warp it or crack enamel.
  • Use wooden or silicone tools on nonstick and enamel.
  • Soak, don’t scrub. Ten minutes in warm water loosens almost anything.

Four pans cover nearly every recipe. Start with the one you are missing, and see how much easier dinner becomes.